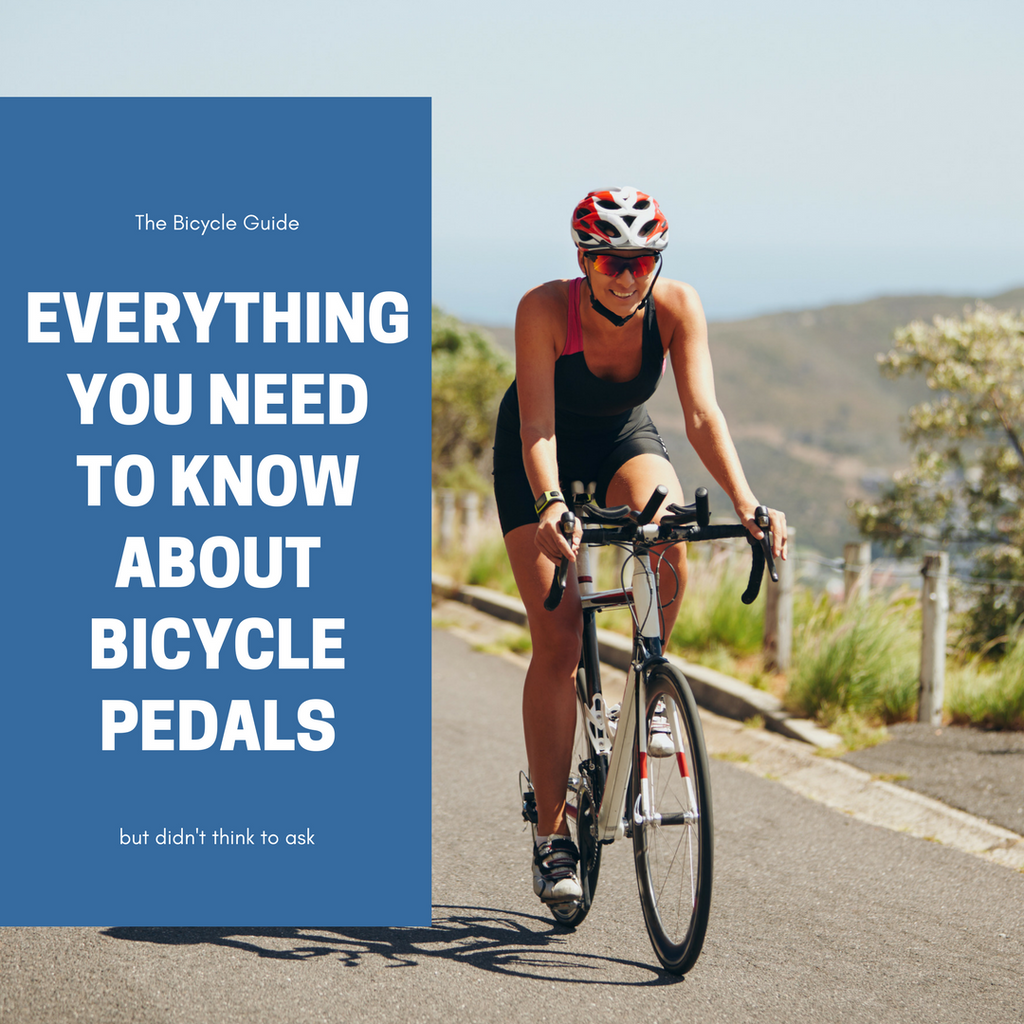
Everything You Need to Know About Bicycle Pedals
I remember being a little kid, my dad holding the back of my bicycle seat, the heat of the Florida sun beating down on us, his reassurance that he wouldn’t let go until I said so. It feels like yesterday that I felt exhilaration when he let go and knew I was riding the bike by myself (without training wheels if you were wondering). The feeling of being on top of the world was usually followed by some sharp pain when I took a fall and scraped a knee or an elbow. Eventually I got the hang of it and would ride my bike everywhere, around the block, to the store, to a friends house and even to school. As I got older, I left the bike behind for other modes of transportation including a car, a bus or the subway as was the case during my time living in New York City.
After moving to North Carolina, I’ve found myself back on a bicycle. This time though, there is way more to learn about the mechanics of riding a bike then just getting on it, putting my feet on the pedals, and propelling myself forward towards my destination. The bicycle I have now was a gift from my father-in-law, a used, grey Trek 7200 bicycle. The first thing I did was take it to a bicycle shop to get it serviced. Next came the fun part, outfitting my bike with new gear from Lumintrail.
But where to start? I chose to begin from the bottom up on the bike, first looking at bicycle pedals because they can make a huge impact on my performance. With pedals that work for me, they can help me be more efficient and give me more energy for my rides ahead. But as I looked over the options, I didn’t know which pair would be right for me. As I poured over options I soon realized that before I could decide on a pair, I had to first understand the mechanics of the Pedal Stroke.
The Pedal Stroke
 Power/Downstroke | “With great power comes great responsibility.” - Spiderman
While researching about pedal strokes I came across this fantastic drawing from rideharder.co.uk. It helps by relating a pedal stroke to the face of a clock to better understand the four different phases of one pedal stroke. This totally made sense to me and probably to someone who has ever taken a spin class.
The power or downstroke phase which usually takes place between the 1 and 4 o’clock position is the time when you actually apply the most power to your stroke. You are utilizing the largest muscles groups of the body including the quads and the glutes.
The Pull-Back | “Just when I thought that I was out, they pull me back in.” - Godfather III
Just when you think the hard part is done, the power phase is over, now begins the phase that links the downstrole with the upstroke. This is your chance to continue your momentum holding on to the energy from the downstroke, giving you added power. This phase takes place between the 5 to 7 on the clock.
The Upstroke | “Cupcakes are muffins that believed in miracles.”
In this part of your stroke one of the mistakes beginners like myself can make, is allowing your leg to relax while you concentrate on the power phase of your other leg. This actually makes your other leg work harder. Instead make a conscious effort to continue to pull right through the section from 7 to 11 so that your leg is lifting itself and not becoming a dead weight on the opposite side.
The Set Up | “Every Revolution Begins with a Spark”
In this last phase you are driving your foot forward as your pedal reaches parallel and begins the descent again into the power phase. This phase is relatively short taking place from 11 to 1.
When deciding on the right pedal, it is important to consider what kind of riding you will be doing. Will you be doing a leisurely joyride with the family? Are you looking for more power and efficiency that can be found from clipless pedals, or the maneuverability and freedom found from platform pedals?
Pedal Types
Platform Pedals
Platform pedals are usually what come standard on most bikes. They feature a flat platform used without the need of special shoes. With these pedals you are mostly using the power stage of the pedal stroke because without being clipped in or using straps you don’t have much control to pull the pedal back and up.
What are the raised metal pins on the pedal? Good platform pedals come with raised pins on them. This is to help your foot from sliding off. This is great for all riders but especially mountain bikers who need to make sure they can get a firm grip on their pedals and bike when on trails.


With platform pedals there is another question remaining, what is the difference between a ball bearing pedal and a sealed bearing pedal. Well I’ve got an answer for you.
Ball Bearing vs Sealed Bearing
This is a confusing topic. One that it was hard for me, a newly inaugurated adult bicycle rider, to find any easily understood explanation. That is why I asked my colleagues who live and breathe cycling what this means in regards to a pedal.
Below is a photo I found on Mission Bicycle Company website that helps to visually show the difference between the two.

The one on the left in the picture are loose ball bearings. These bearings help to provide a smooth revolution or turn of your pedal. Loose ball bearing pedals require greasing for a smoother ride. On the right you have the sealed bearings, which means that the loose balls are enclosed in a cartridge, protecting them from road debris, dirt, gunk and weather, allowing the pedal to last longer and extending its life.
In the end it’s the preference of the rider. With ball bearing there is much more resistance in the spin of the pedal. This should smooth out with 200 to 300 rides and become linked to the usage of the rider. Sealed bearing pedals are smooth right out of the gate.
As a side note, we have gotten some customer inquiries about why our sealed bearing pedals are less expensive than what’s currently on the market, whether online or lining the shelves of REI. Our answer is simple, we work with manufacturers to reduce cost so we can bring quality products at affordable prices for our customers. We just don’t think it’s right to gouge the price on our customers. I would like to also point out that we are the manufacturer so when a customer buys directly from us, there is no middleman which helps to reduce their cost.
Toe Clips / Toe Cages
Again if anyone has taken a spinning class they have used these. The toe clips or toe cages actually attach to the pedal to harness your foot in to keep contact with the pedal. This allows you to use the full pedal stroke model in your pedaling. Because I am just riding my bike outside casually or to work, I didn’t want to add this addition to my bike. Plus some riders say they are more of a nuisance then they are worth, but that is just some opinions I’ve read.
Clipless Pedals
For the more intensive cyclist they prefer the clipless pedals. They are actually pedals in which you have special shoes (cleats) that clip directly into the pedal. From what I read, this gives riders more control and power during the pedal stroke. I am no pro, nor avid cyclist and am not comfortable just yet jumping into these type of pedals. I’ll be honest and say the idea of strapping my feet into the pedals freaks me out because if I fall the bike is connected to me. I’m willing to work up to that... over time (maybe).
Conclusion
So, back to my decision. Which of the Lumintrail pedals would I choose for my bike? To help me decide, I tried out each pedal, took a ride, and made my decision based on how it felt. What did I decide? In the end I chose the butterfly pedals. Since I have a small foot, I didn’t need the “big foot” pedals and felt that the butterfly pedals felt the best on my feet. I will be doing short videos on each of our pedals so check those out here when they are ready.
By Sheerah Singer
Lumintrail Senior Marketing Associate